To develop and test Android applications, you will need a physical device or an Android emulator. The Android SDK has an Android Virtual Device (AVD) emulator that runs on your computer.
AVD Manager is a graphical user interface that you can use to create, modify, and manage Android emulators.
To open the AVD Manager:
- In Android Studio, select Tools > Android > AVD Manager or click the AVD Manager icon (
 ) in the toolbar.
- From the command line, navigate to <sdk-directory>/tools and execute android avd.
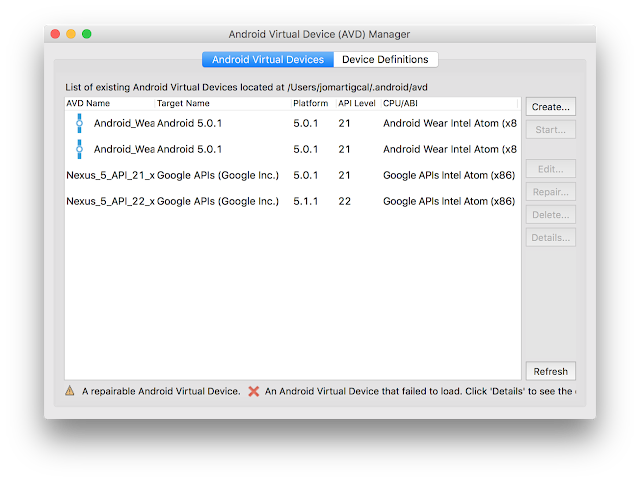
AVD Manager from the Command Line
If you open the AVD Manager from the command line, you will see the UI similar to the one below:
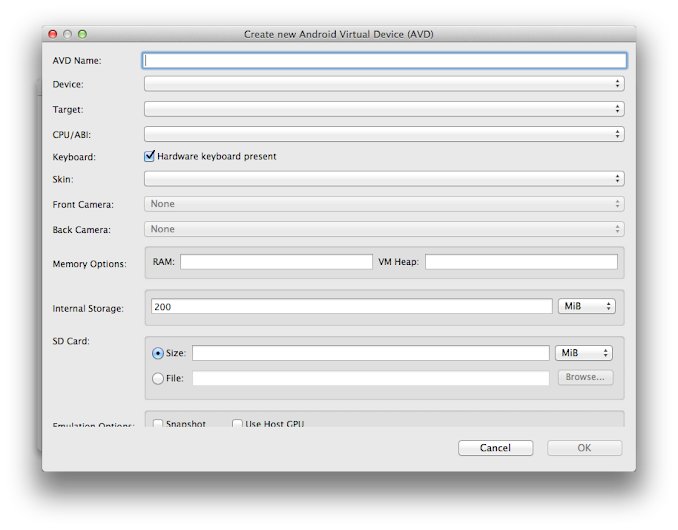
To create an Android Emulator, click the Create button. Fill up the name, and select the device, target, CPU/ABI, and skin. You can also add hardware functionalities, like keyboard, camera and SD card. Click the OK button to create the emulator.
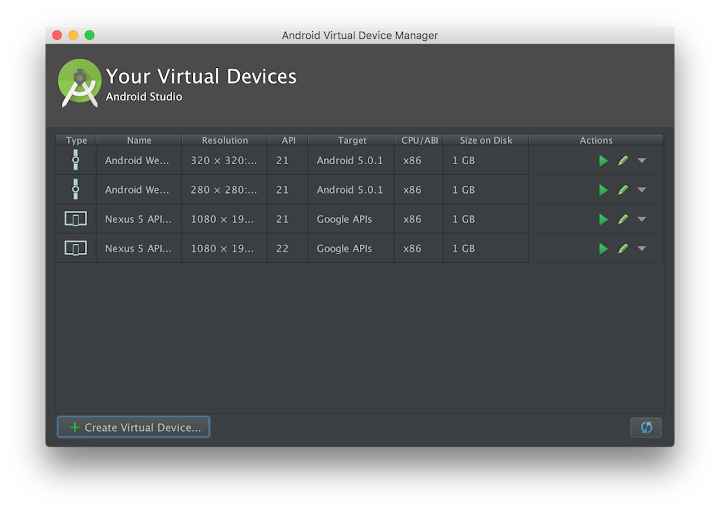
AVD Manager from Android Studio
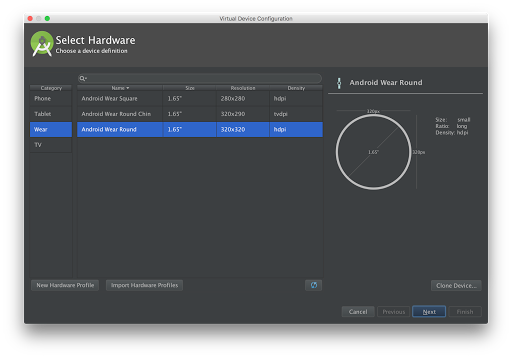
If you open the AVD Manager from Android Studio, you will see a different UI:
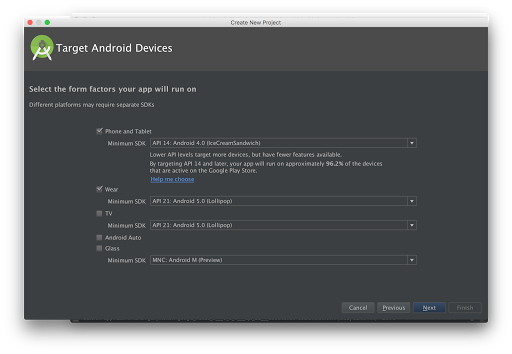
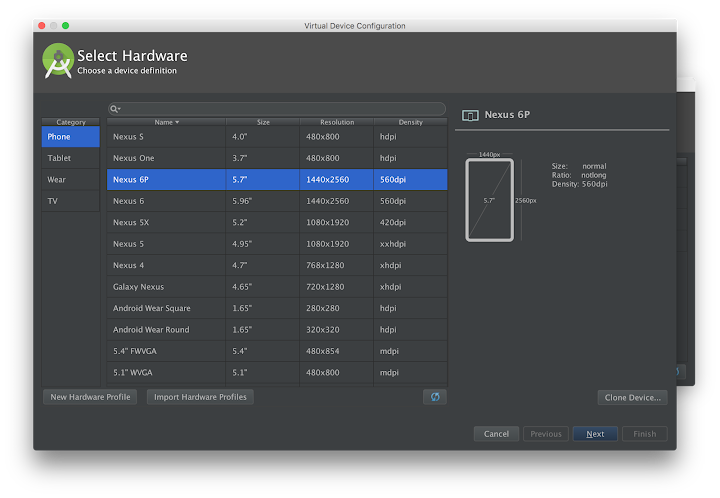
To create an Android Emulator, click the Create Virtual Device. Select a device configuration then click Next (If you want a new configuration, click the New Hardware Profile instead. Select the System Image OS name and API Level then click Next. Fill up the name and check the configuration then click Finish.
Starting the Android Emulator
You can start an emulator by selecting it in the AVD Manager and clicking the green run image (or the Start button if you run AVD Manager from the command line). When running an app from Android Studio, it will install and launch on the running emulator. If an emulator is not yet open, you can launch it in the Device Chooser dialog. From the command line, you can use the adb install <apk-path> to launch the APK in your emulator.
x86 Emulators and HAXM
When using an x86 system image for an Android Virtual Device (AVD), you should install HAXM (Hardware Accelerated Execution Manager). Check out
this post on how to setup and install HAXM.
Using an Android emulator allows you to see how your app will look and behave in an actual device. There are some limitations though (like you can't call from emulators). Read more about the Android emulator
here. Other than using a physical device or an AVD, you can also use other third-party emulators. I am using
Genymotion most of the time for development.